Chinese fan culture has a deep cultural heritage, and China has always been recognized as the ‘fan kingdom.’
Together with bamboo culture and Buddhist culture fans are an integral part of China’s national culture.

The Origin of the Paper Fan
Around three or four thousand years ago, the ancient Chinese people originally used large leaves or bird feathers to fan themselves during the hot summer season, and this soon evolved into a more sophisticated tool, the fan.
Just as the early peoples made barriers against the wind and rain, so too, they protected themselves against the heat and fans became an essential part of their life.
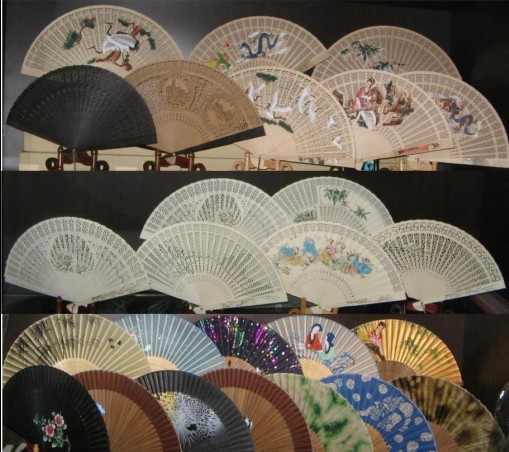
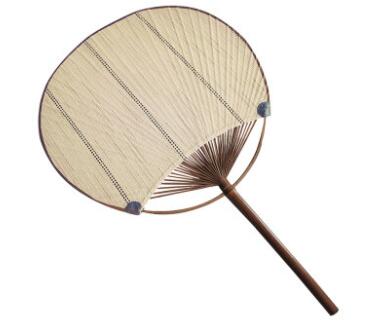
Over the millennia, fan design has improved and developed into hundreds of different kinds, but the two main categories are the flat fan and the folded fan.
The Use of the Fan
In modern times, with the invention of other cooling devices such as air conditioning, fans are not so much everyday necessities.
Chinese fans are now used mostly for decorative purposes, in advertising, and as souvenirs for tourists.
Chinese fans have made their way into private collections as works of art, often combining the crafts of weaving, sculpture, painting, calligraphy, and embroidery among other technical skills, but also as folk art and other performing arts props.
Four Famous Fans
The Sandalwood Fan (Jiangsu)
Sandalwood fans were among the first in antiquity, and have been much loved for their unique style and craftsmanship. Sandalwood is a hard wood with a natural long lasting scent, often lasting many years.
Kept in a suitcase, drawers or your cupboard it makes an excellent pest deterrent. Fans made of sandal wood can be quite fancy, decorated with painted or carved flowers, mosaics, and bone.
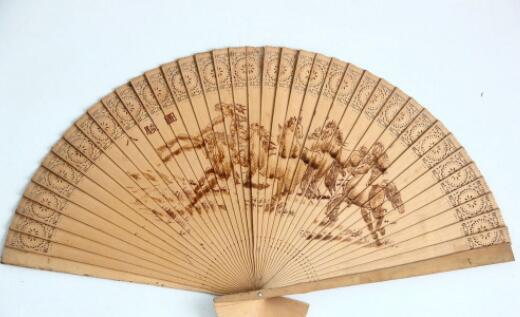
The Fire Fan (Guangdong)
The “Fire fan” was founded in the final years of the Qing Dynasty Tongzhi, with later developments including the production of fans made with a thin glass handle attached to a double-sided fan.
These were decorated with a special fire pen painting. The vivid colors of fire pen ink are bright and never fade, and so these fans are highly sought after by collectors.
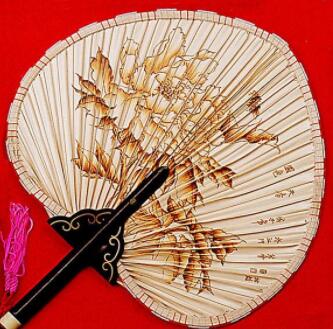
The Bamboo Fan (Sichuan)
Characteristically peach-shaped, the Bamboo Fan is made of bamboo silk, woven as fine as onion skin, and decorated with Canruo brocade.
Bamboo silk is translucent yellow, very fine and delicate. These fans are adorned with painted scenes of beautiful landscapes, figures, or birds and insects.
The handles are usually exquisitely carved ivory or bone and some of the ancient ones are considered national treasures.
The Aya Silk Fan (Zhejiang)
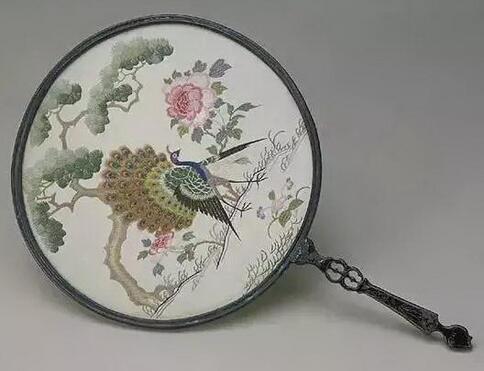
Aya silk is silk damask, usually brightly colored, light and delicate like morning fog, and makes beautiful fans.
Two Chinese Paper Fans You Can Make Yourself
Folded Paper Fan (Simple & Practical)
Here I teach you how to make a lovely yet simple and practical paper fan.
Materials:
Old magazine
Glue stick
This fan will work with plain white paper, but I use a magazine for the color and the structure the glossy paper gives to the fan.
Carefully tear two pages from the magazine so that the edges are straight. Fold over the long edge about 1.5 cm using the edge of the page as a guide.
Flip the page over and fold again in the opposite direction. Continue folding in concertina style for both magazine pages.


Now that you have two sheets of folded paper glue the edge of one to the edge of the other so that the folds continue.

Lastly, glue all the folds at the bottom of the paper together.

Traditional Wooden Handled Fan
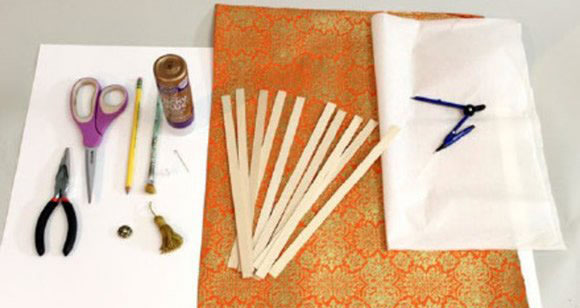
Materials and Tools
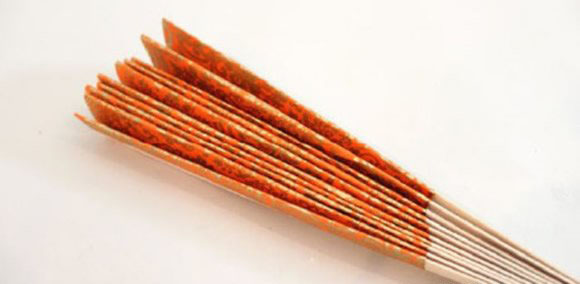
10 or so long pieces of thin wood such as balsa wood, cut to the length of the size of fan you want.
white paper and colored/patterned paper
tassel
push pin
thin wire
pencil
drawing compass
craft glue
scissors
pliers
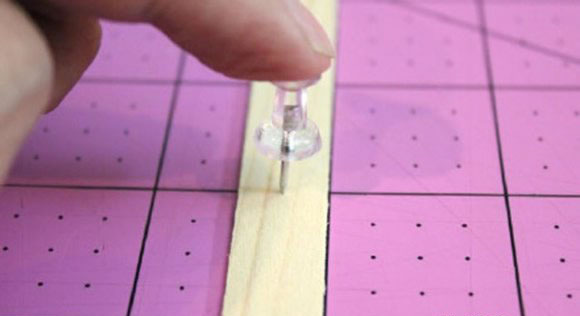
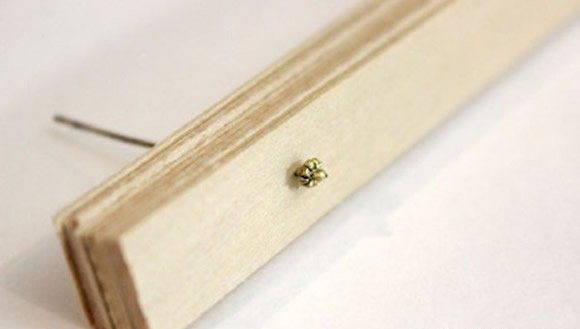
Using a pushpin, make a hole in one end of each piece of wood, the same distance from the end, so they will line up later.
You can drill the hole, but be careful not to put too much pressure on the wood making the hole too big for the wire.
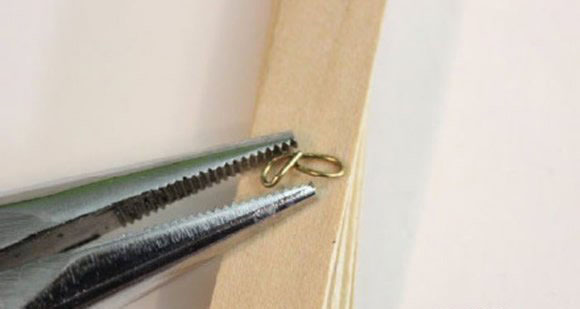
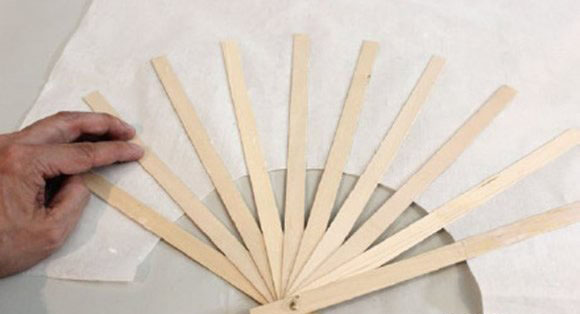
Thread the wire through the holes, stringing the wood pieces together.
Use the pliers to tie the two ends of the wire together, so the wood pieces are joined tightly, forming the base of your fan.
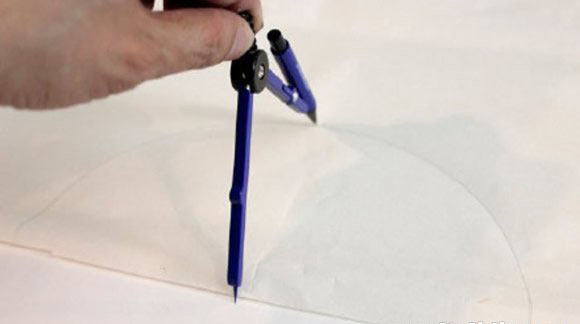
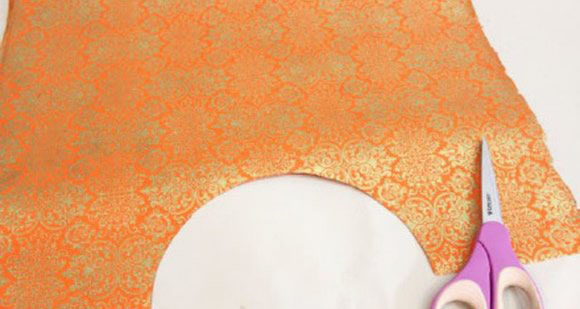
Grab your drawing compass and draw a semi-circle on the white paper, according to the size of the pieces of wood. Cut out the semi-circle.
Position the fan (joined strips of wood) on the white paper.
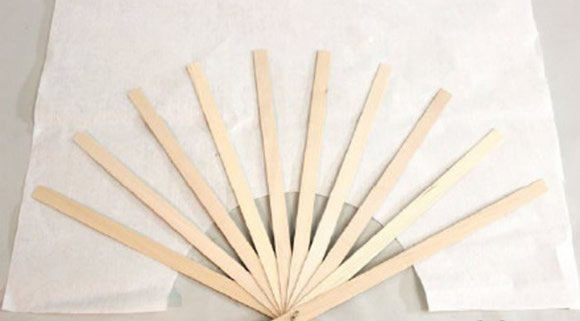
Fan out the strips of wood and markthe position of each with a pencil.
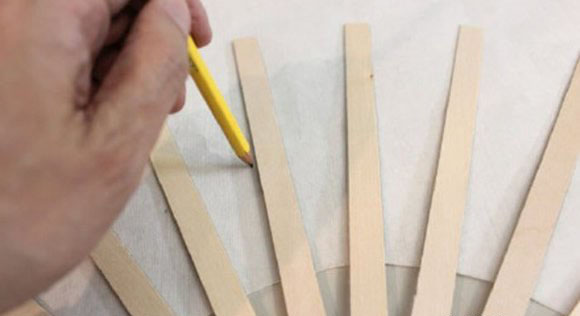
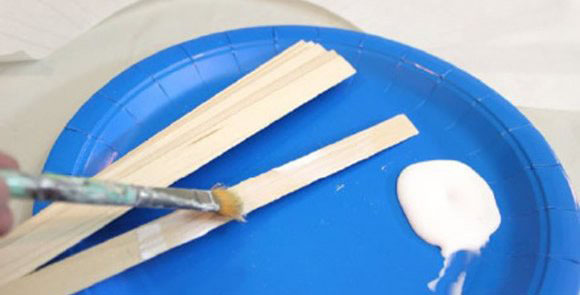
Apply glue to the wood strips and paste them onto the white paper lining them up with the pencil marks.
Trim off excess paper.
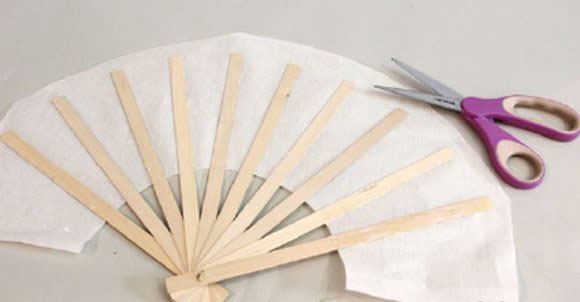
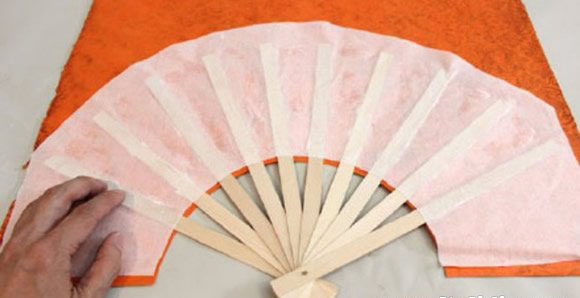
Do the same with the colored paper, but make the semi-circle slightly larger than the white paper so you can overlap the edges.
Trim off the excess colored paper, and glue on the other side of the sticks. fold over and glue the edge. You should now have white paper on one side and colored on the other.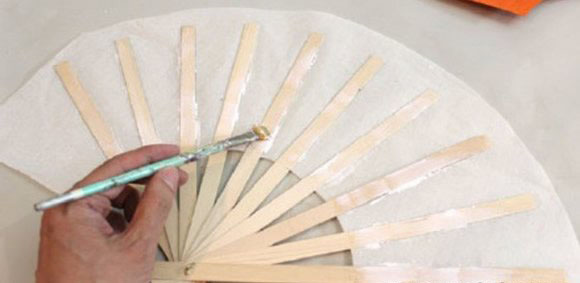
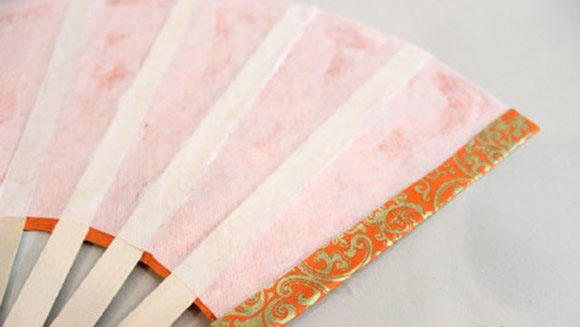
Wait for the glue to dry.
Finally, install the tassel in place for decoration.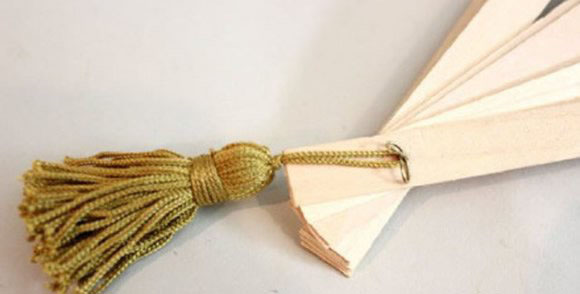
There you have a beautiful paper fan!
This does not show or explain the most important part…….how to fold it!
You show every step but not the final out come of the project. I have made fans like your last fan tutorial. It is difficult to fold without the glue
Separating from the sticks and paper. I was hoping to get the last step
here. If you don’t post the entire process it is misleading those who are looking for the ENTIRE tutorial!
Hello Lori,
Not sure which step you referred to. I have posted the complete steps with images.