Cake is a food that everyone can love. It is one of the most famous desserts worldwide, and can be transformed into anything the imagination can dream of.

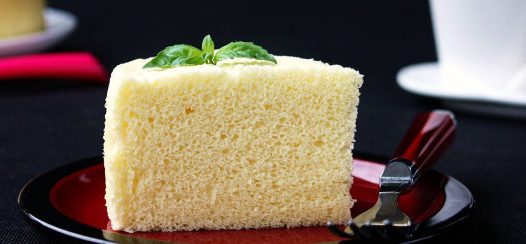
This steamed cake is very similar in almost every way to making traditional baked cakes.
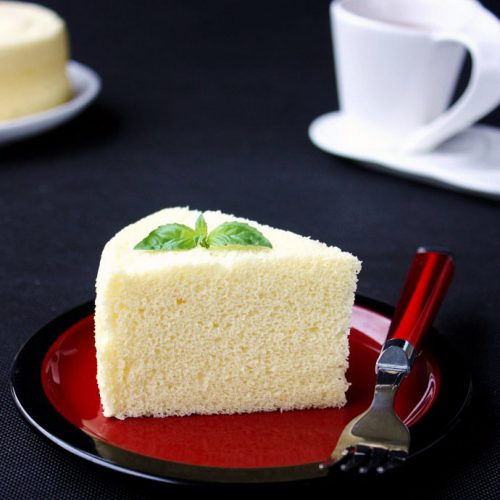
However, because it is steamed, I think the moisture has been better preserved, so the texture of the cake will be softer and smoother than a baked cake. Also, you can make this without an oven.
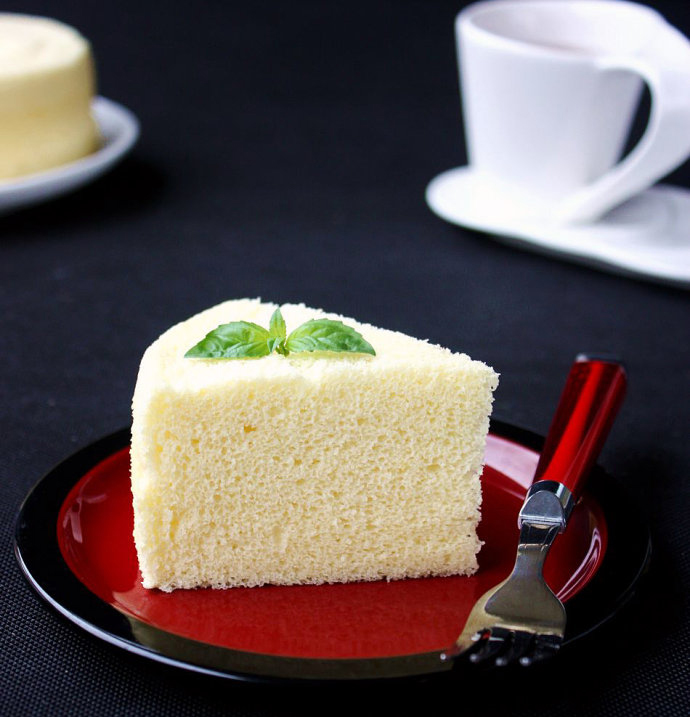
With a baked cake, they tend to use more oil to keep them moist, so using the “steaming” method can make the cakes relatively healthier.
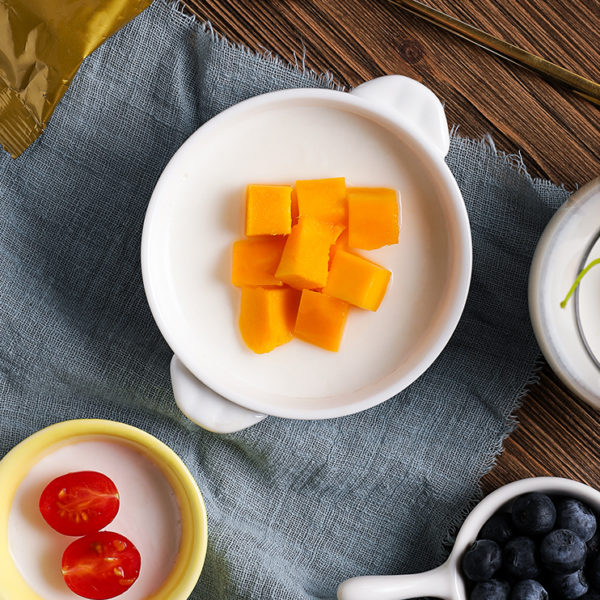
This is a delicious and sweet treat that can be had for breakfast or afternoon tea, and pairs great with yogurt, juice and other drinks!
Ingredients:
- 1) 5 Eggs
- 2) 110g of Low-gluten flour
- 3) 20g of Corn oil
- 4) 80g of Milk
- 5) 80g of White sugar
- 6) 3-5 small drops of White vinegar
- An 8 inch round mold
Procedure:
Step 1: Separate the egg whites and egg yolks into separate bowls for use. (The bowl containing the egg white must be water-free and oil-free, otherwise, it will affect the effect texture.)
Step 2: Pour corn oil and milk into the egg yolk bowl.
Step 3: Whisk well with egg.
Step 4: Low-gluten flour is sieved into the bowl.
Step 5: Stir with a spatula into a batter.
Step 6: The batter is sifted through a sieve again to ensure it’s smooth with no clumps.
 Step 7: Put a little white vinegar (or lemon juice) in the egg whites. Pour the sugar into the egg white bowl over 3 separate times- first, pour 1/3 sugar, and use the electric egg beater to whip it so that it looks like the image below.
Step 8: Pour in 1/3 of the sugar and turn it to the high-speed and mix further.
Step 9: Pour in the last 1/3 of the remaining sugar and continue to blend it into a meringue at high speed.
Step 10: Add the blended egg whites into the batter.
Step 11: Mix and smooth evenly. (Note: stir very gently, so as to keep the fluffiness of the egg white)

Step 12: Pour into an 8-inch round mold.
Step 13: Gently drop the cake mold on the counter to get out the air bubbles and cover with cooking plastic wrap. (It will make sure that the water from the steamer won’t affect the cake.)

Step 14: Pour the appropriate amount of water into the steamer, boil it, put the mould into the steamer, and steam for about 40 minutes. (Pay attention to the heat to keep is medium-low)
Step 15: Turn off the heat, remove the mold and uncover the plastic wrap.
Step 16: After cooling, it can be released from the mold. (Place on a mesh rack to prevent condensation on the bottom and the cake getting soggy.)
Step 17: Serve with a glass of milk, yogurt, or fresh fruit- ENJOY!
Tips
1: Be sure to add the sugar into the egg whites in 3 separate times, whipping slightly thicker after each addition. (When the eggbeater is lifted, the meringue will hang down a long pointed tip, but it will not drip.)
2: You can use the meringue for several different types of cakes, such as angel food cake, etc. Just whip the egg whites thicker.
More cakes desserts you should know:
- Blueberry Cheesecake Recipe (Step By Step With Image)
- Moist And Delicious Sweet Potato Cake Recipe
- Chinese Sponge Cake – Simple Version But Delicious
- Water Chestnut Cake Recipe – Chinese Famous Dim Sum
- Mango Pancakes Recipe – Hong Kong Mango Crepe
- Snow Skin Mooncake With Milky Pineapple Filling
- Chinese Steamed Sponge Cake Recipe (Ji Dan Gao)
- Chinese Rice Cake Recipe – Step By Step Guide
- Chinese Pumpkin Cake – Two Methods, You Must Love One Of Them
- Red Bean Cakes Recipe
- Wife Cake – Sweetheart Cake
- Taiwanese Pineapple Cake
- Mung Bean Cake Recipe – Two Scrumptious Versions
- Fa Gao (Fortune Cake) – Chinese Steamed Cakes
Chinese Steamed Sponge Cake Recipe (Ji Dan Gao)
Ingredients
- 5 Eggs
- 110 g of Low-gluten flour
- 20 g of Corn oil
- 80 g of Milk
- 80 g of White sugar
- 3-5 small drops of White vinegar
- An 8 inch round mold
Instructions
- Separate the egg whites and egg yolks into separate bowls for use. (The bowl containing the egg white must be water-free and oil-free, otherwise, it will affect the effect texture.)
- Pour corn oil and milk into the egg yolk bowl.
- Whisk well with egg.
- Low-gluten flour is sieved into the bowl.
- Stir with a spatula into a batter.
- The batter is sifted through a sieve again to ensure it’s smooth with no clumps.
- Put a little white vinegar (or lemon juice) in the egg whites. Pour the sugar into the egg white bowl over 3 separate times- first, pour 1/3 sugar, and use the electric egg beater to whip it so that it looks like the image below.
- Pour in 1/3 of the sugar and turn it to the high-speed and mix further.
- Pour in the last 1/3 of the remaining sugar and continue to blend it into a meringue at high speed.
- Add the blended egg whites into the batter.
- Mix and smooth evenly. (Note: stir very gently, so as to keep the fluffiness of the egg white)
- Pour into an 8-inch round mold.
- Gently drop the cake mold on the counter to get out the air bubbles and cover with cooking plastic wrap. (It will make sure that the water from the steamer won’t affect the cake.)
- Pour the appropriate amount of water into the steamer, boil it, put the mould into the steamer, and steam for about 40 minutes. (Pay attention to the heat to keep is medium-low).
- Turn off the heat, remove the mold and uncover the plastic wrap.
- After cooling, it can be released from the mold. (Place on a mesh rack to prevent condensation on the bottom and the cake getting soggy.)
- Serve with a glass of milk, yogurt, or fresh fruit- ENJOY!